Installing a Magnetic Lock on a Door: Step-by-Step Installation Guide
A magnetic lock , also called an electromagnetic lock, is a popular choice for access control in commercial buildings, apartment complexes, B&Bs, and garages. They are quiet, reliable, and easy to operate with an intercom, button, keypad, or RFID reader. But how do you install such a magnetic lock on a door? In this guide, we explain step-by-step how to do it, using products from the UMATECH range.
1. How does a magnetic lock work?
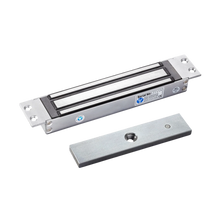
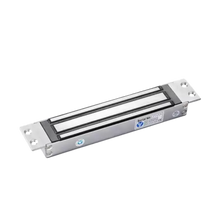
A magnetic lock consists of two parts:
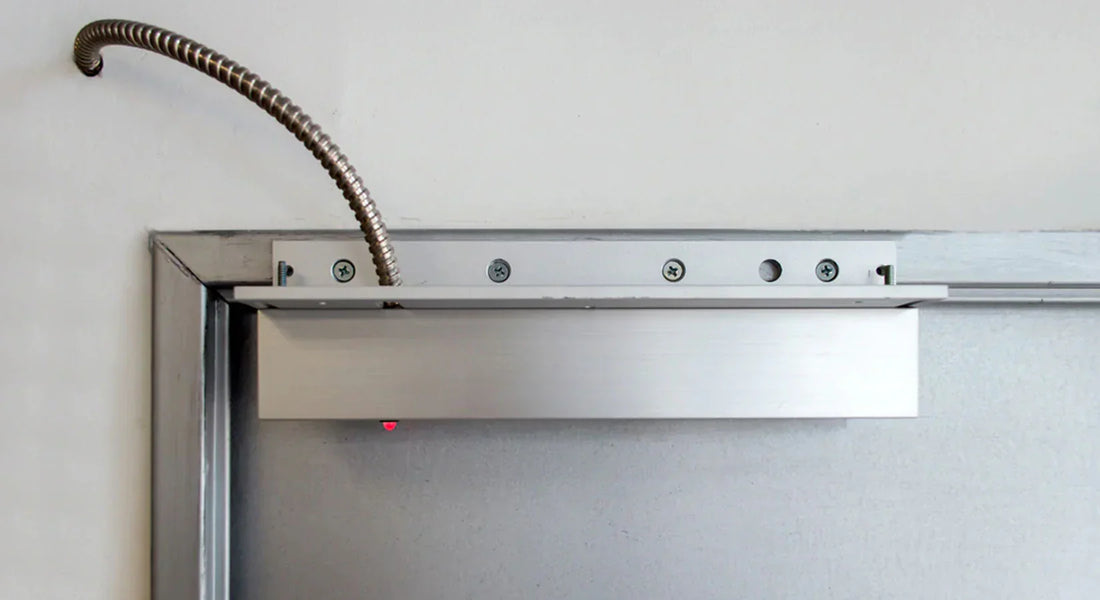
- The magnet (electromagnet) : is mounted on the door frame
- The anchor plate : is attached to the door itself
When the lock is powered (usually 12V DC), the armature plate is pulled against the magnet with force (typically 280kg to 500kg holding force). As soon as the power is interrupted, the lock opens.
Please note: Magnetic locks are fail-safe : they unlock automatically in the event of a power failure.
2. What do you need?
Before installation:
- YLI magnetic lock (e.g. YM-280N(LED) )
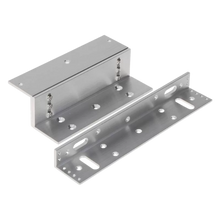
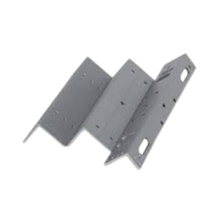
- Mounting kit (L-bracket, ZL-bracket if hinged door)
- 12V power supply or PoE controller
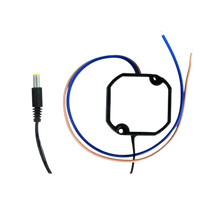
- Cables (e.g. YVD 2x0.75mm2)
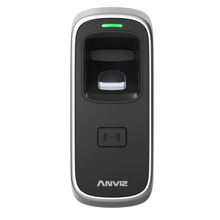
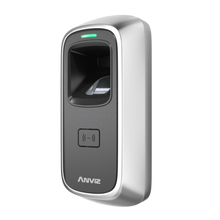
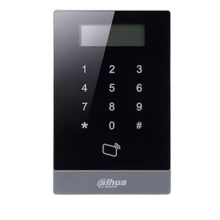
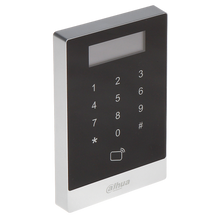
- Optional: door closer , push button , RFID reader or code panel
UMATECH supplies these parts as individual components or complete access sets.
3. Step-by-step installation
Step 1: Determine positioning
- Choose whether to place the lock at the top or in the middle of the door (top is common)
- Make sure the frame is suitable for mounting the magnet
- Determine whether you need an L-bracket or ZL-bracket depending on the direction of rotation
Step 2: Mounting the magnet
- Attach the magnet to the door frame with screws
- Make sure the magnet is completely flat
- Use plugs when mounting on concrete or stone
Step 3: Installing the anchor plate
- Attach the anchor plate to the door with the supplied rubber insert
- Allow a little slack so the plate can align magnetically
Step 4: Installing cabling
- Use 12V power supply or PoE controller (via access controller)
- Route cables neatly through the frame or via a cable duct
- Connect magnet according to polarity (often black = - / red = +)
Step 5: Connecting the control
- Connect the magnet to a relay, button, reader or intercom
- Test with a momentary contact whether everything opens correctly
Step 6: Test and fine-tune
- Test the closing force by hand (should not release under normal force)
- Check LED status if lock supports
- Check whether the door closes properly with the door closer
4. Common Mistakes (and How to Avoid Them)
| Wrong | Consequence | Solution |
|---|---|---|
| Magnet not mounted flat | Poor holding power | Ensure a flat surface and the correct bracket |
| Wrong polarity | Lock not working | Check wiring and +/- connections |
| No door closer | Door does not close properly | Always use for proper locking |
| Cable too thin | Voltage drop | Use 0.75mm2 or thicker for >10m cable |
5. UMATECH installation advice
UMATECH supplies everything for a successful installation:
- YLI magnetic locks with or without LED
- L, U and ZL brackets for every door situation
- 12V power supplies, relay modules and wiring
- RFID readers, code panels and intercoms
Need help finding the right combination for your lock, power supply, and controls? We're happy to help.
UMATECH – smart access, professionally installed.